One of the complaints I hear often about social media is never having enough time to keep up with posting. There are too many platforms, and only so many hours in the day! I totally understand. Which is why I love to take advantage of platforms that include their own scheduling function, like Facebook.
Facebook makes it very easy to schedule content to your business page. They also make it very easy to find content to schedule to your page. In fact, I’ve got my system down so I can schedule a week’s worth of Facebook posts in just about 30 minutes. I try to post four times per day on my Facebook page, which I realize is a rather aggressive schedule. I always recommend business should post 1-4 times per day, so if posting four times a day makes your eyes cross, just focus on scheduling one post a day!
Here is my Facebook scheduling routine and sources. Your first time going through it may take a little longer than 30 minutes. But once you’re used to it, you should be able to fly through your scheduler in no time flat!
Keep in mind this tutorial is for using a desktop computer or laptop. You can schedule content via the Facebook mobile app but I work quicker on my laptop.
And if you have any questions about any of these steps? Please leave me a comment or ask me for help in my VIP Facebook group.
How to Schedule a Week’s Worth of Facebook Posts in 30 Minutes
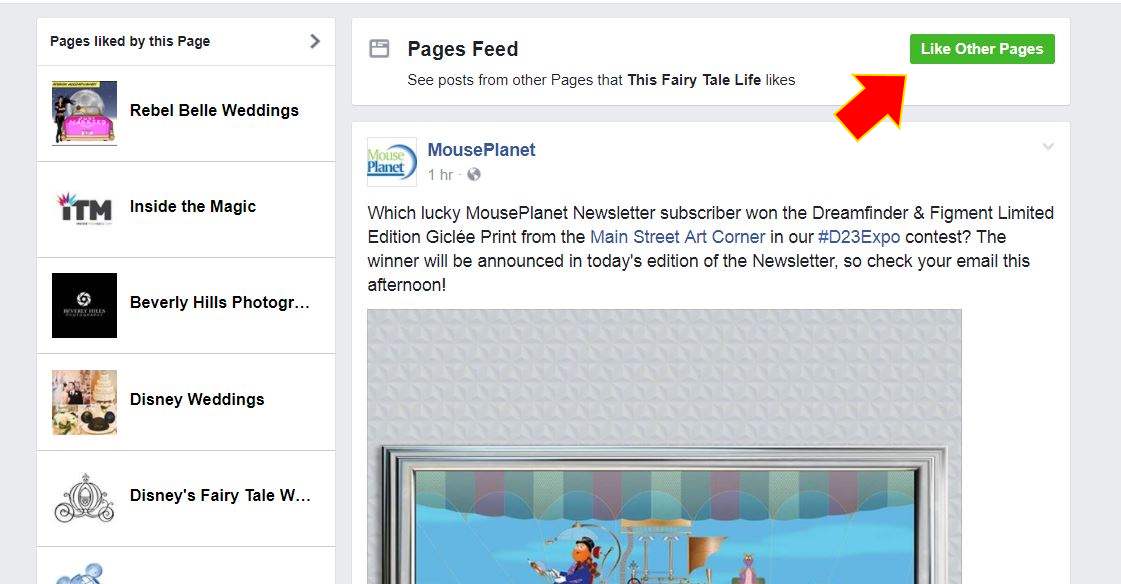
1. Go through your Pages Feed, open up seven articles that look interesting in new tabs, and schedule one per day.
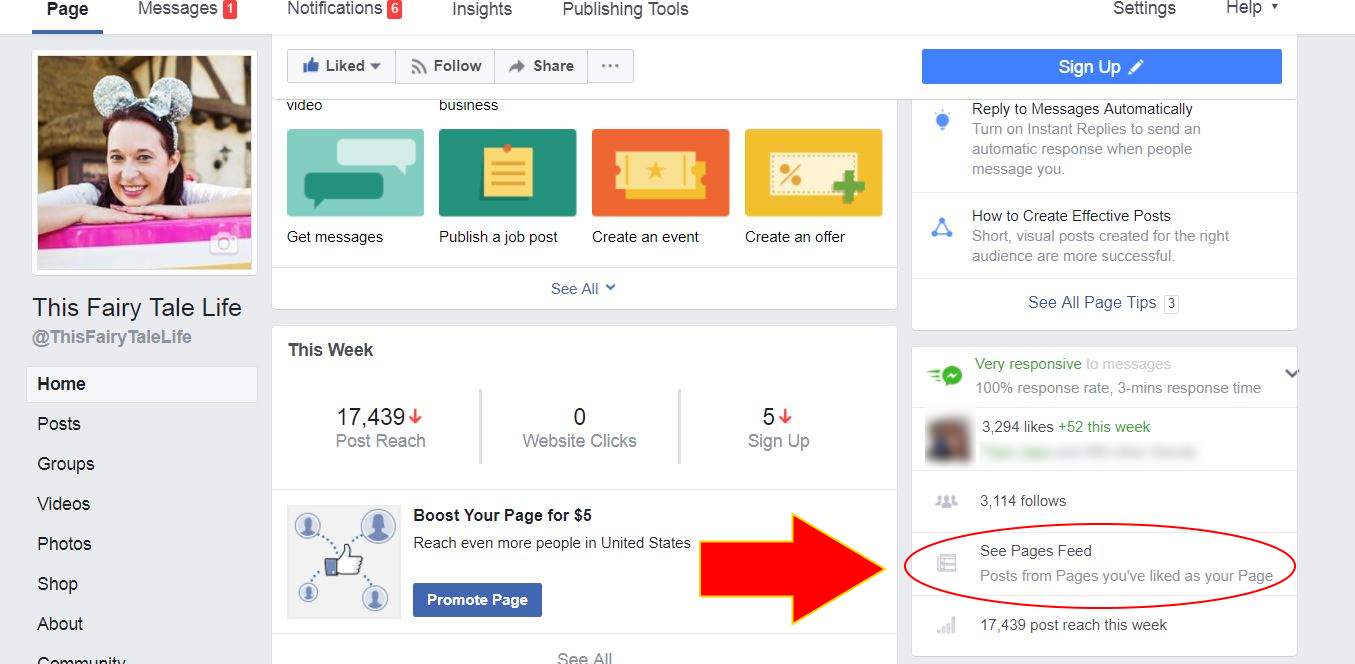
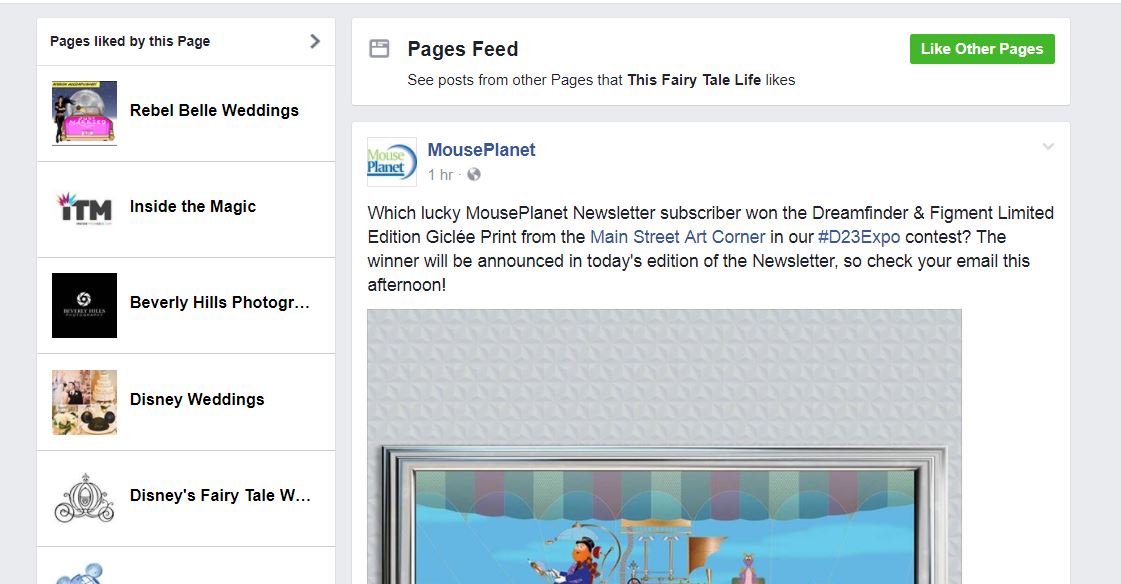
To add Pages to your Pages Feed, click the “Like Other Pages” button and search for the Page.
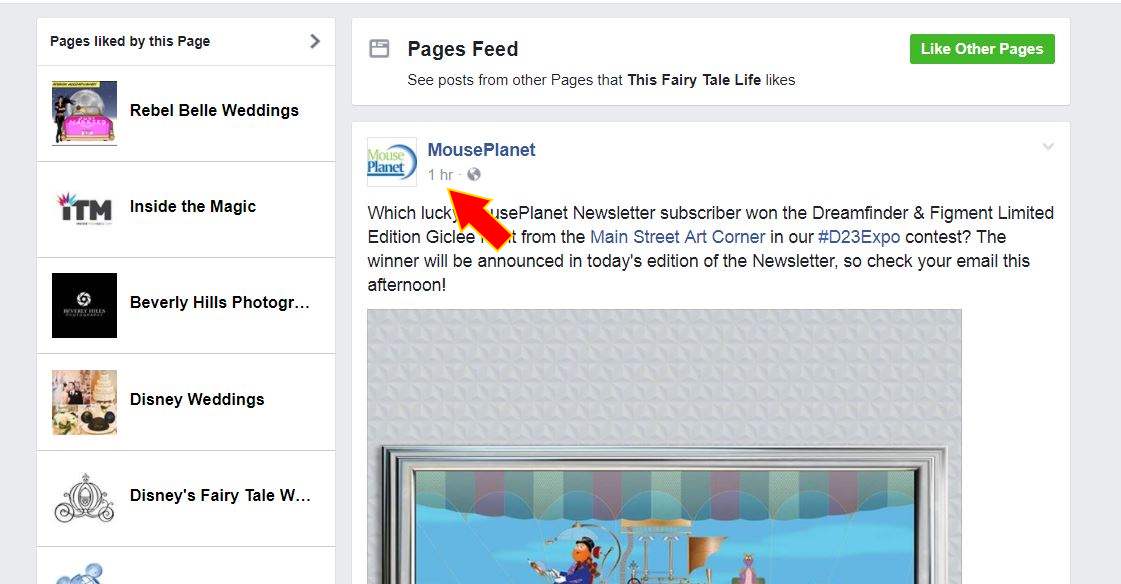
To schedule a share of a Facebook post, copy the post URL and paste it into a new post on your Page.

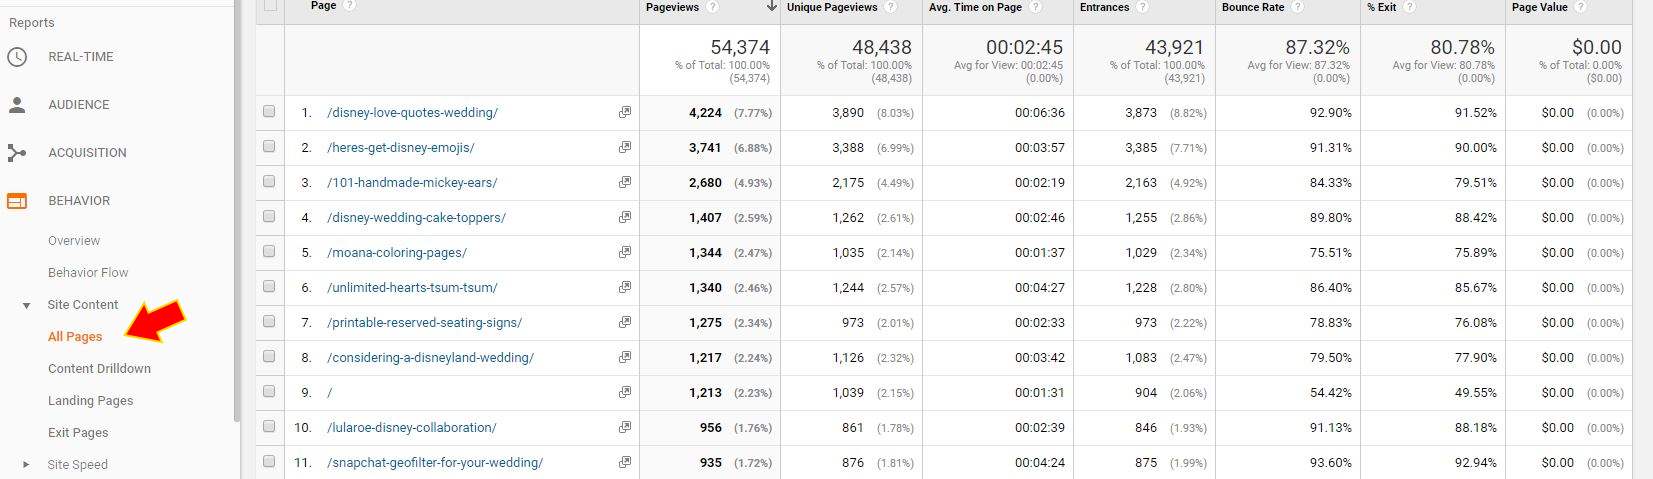
2. Go through your blog’s analytics, look at your 30 most popular posts, pick seven to share, and schedule one per day.
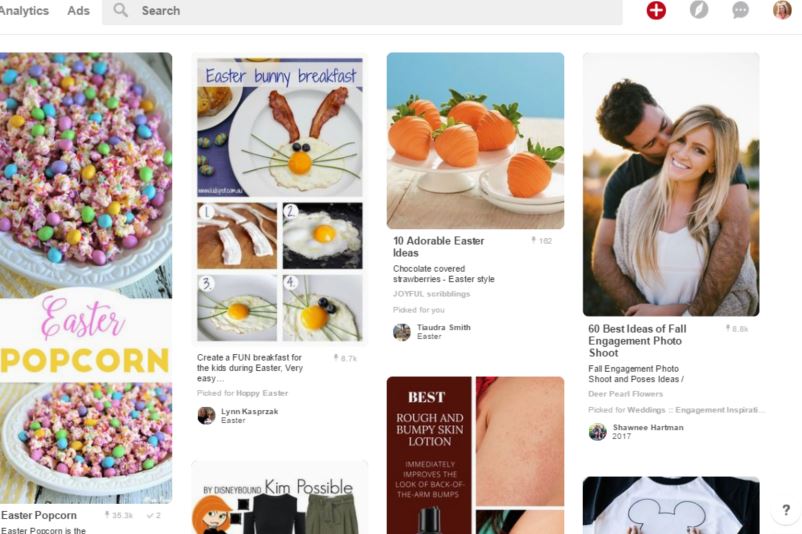
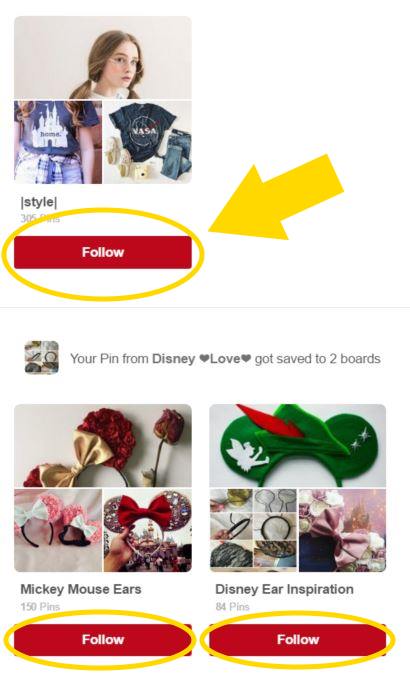
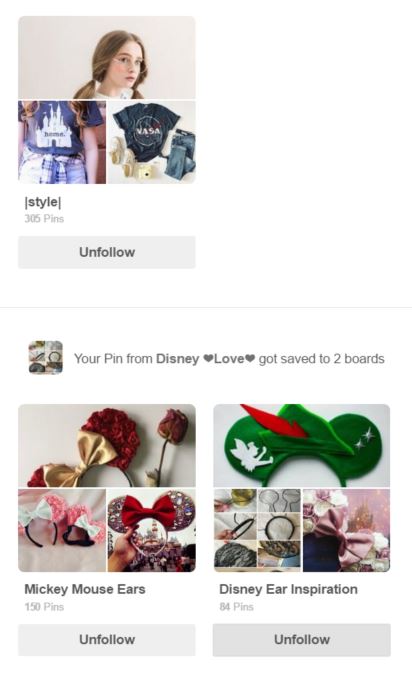
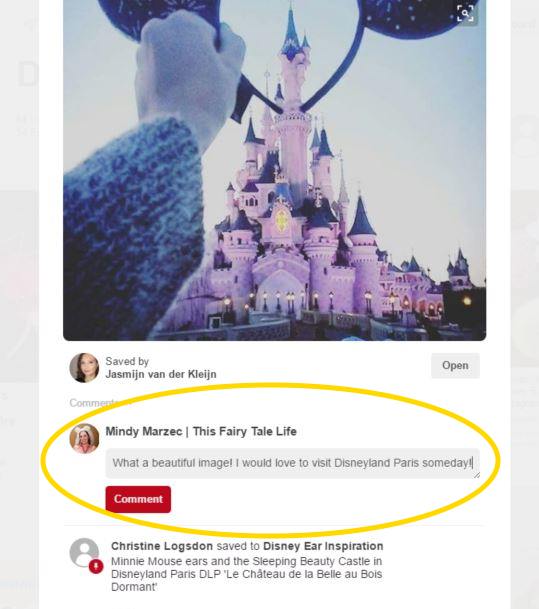
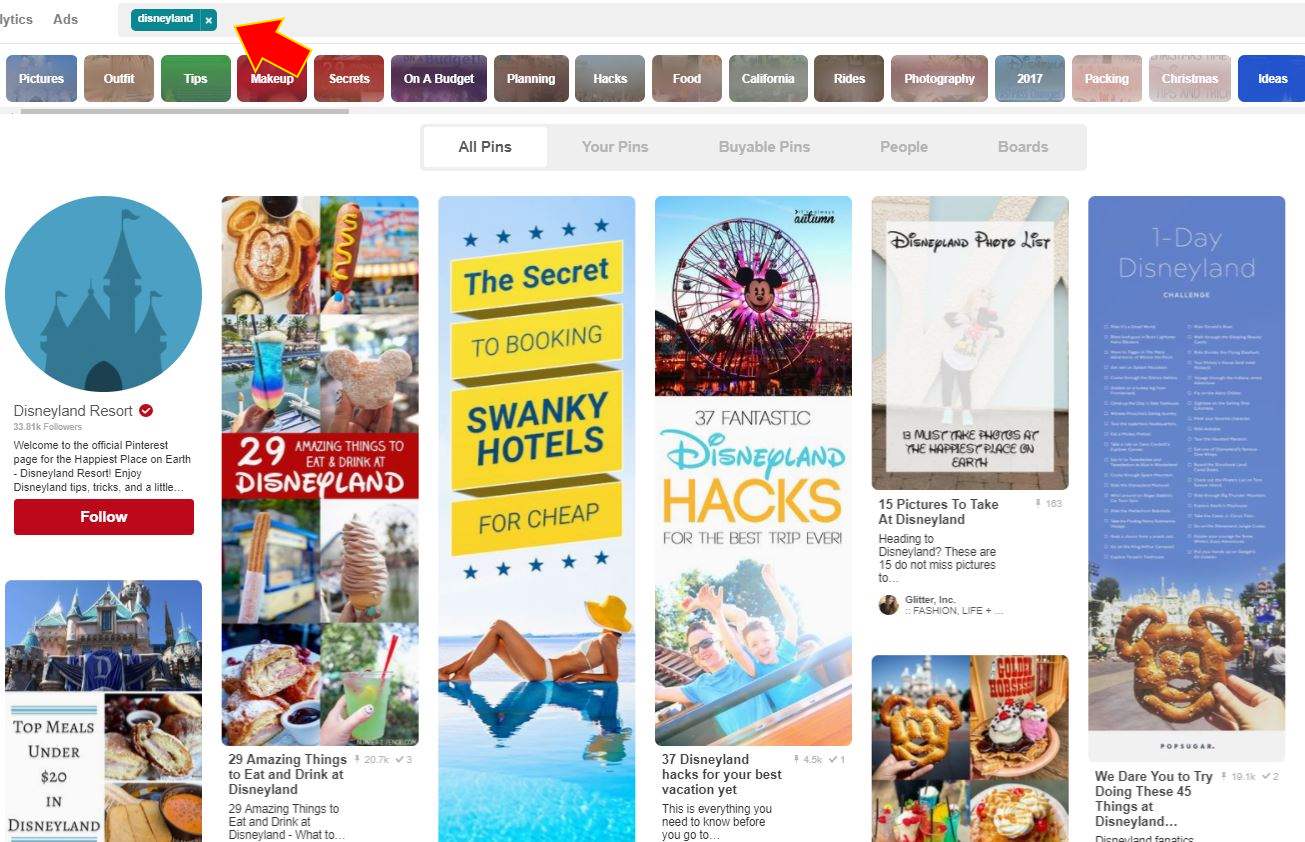
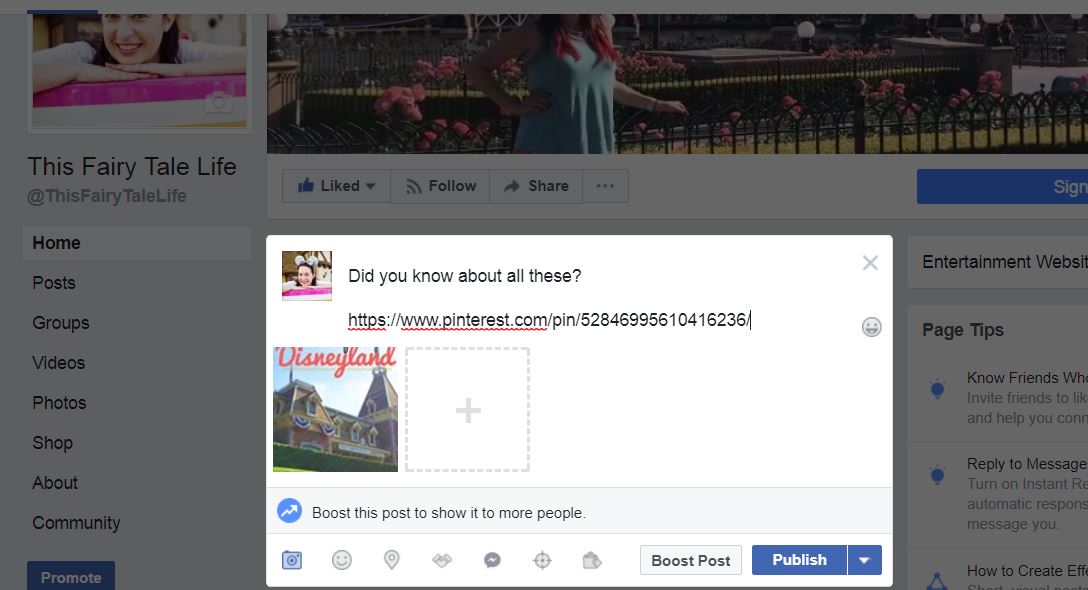
3. Go to your Pinterest feed, find seven images you love that relate to your niche/business. Pin them to your own boards and save the image to your computer. Then upload the image and link to your pins on Facebook. Schedule one per day.
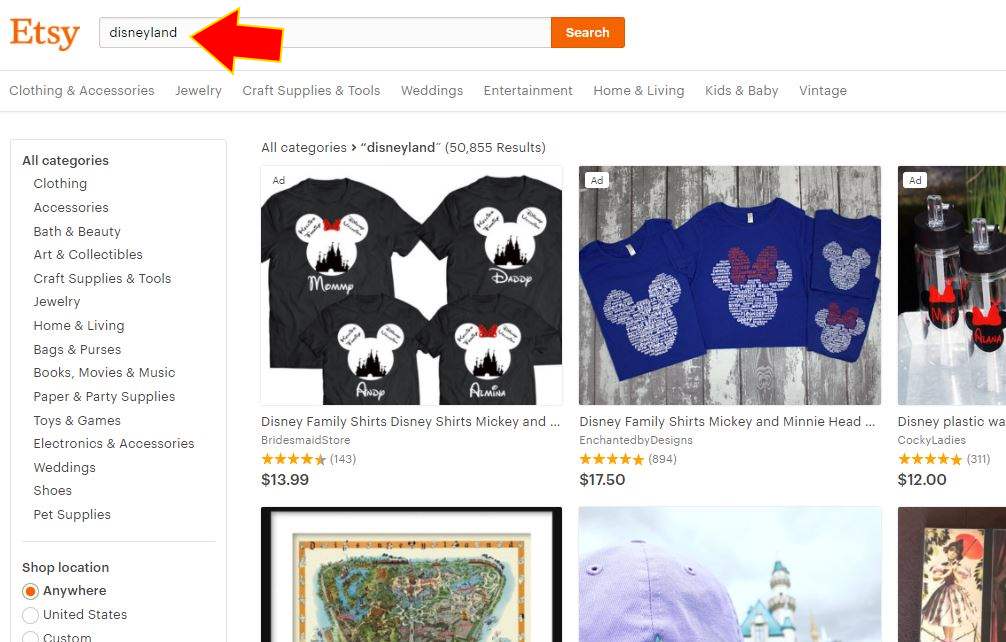
4. Do a search for your niche on Etsy or any shopping website. If you’re in the wedding industry, for example, search for beautiful handmade wedding items. Schedule one link on Facebook per day.
Congrats, you now have a week’s worth of content scheduled (or maybe even more)! I hope these tips help you explode your Facebook Page!